Native RAW developer · Mac, Linux & Windows

A modern darkroom for your RAW photos.

A complete develop suite, a film emulsion line and diffusion filters that add real light — over a library that keeps up with ten thousand photos and syncs through the cloud you already use. Buy it once.

Introductory price · one payment · free updates for life · no subscription

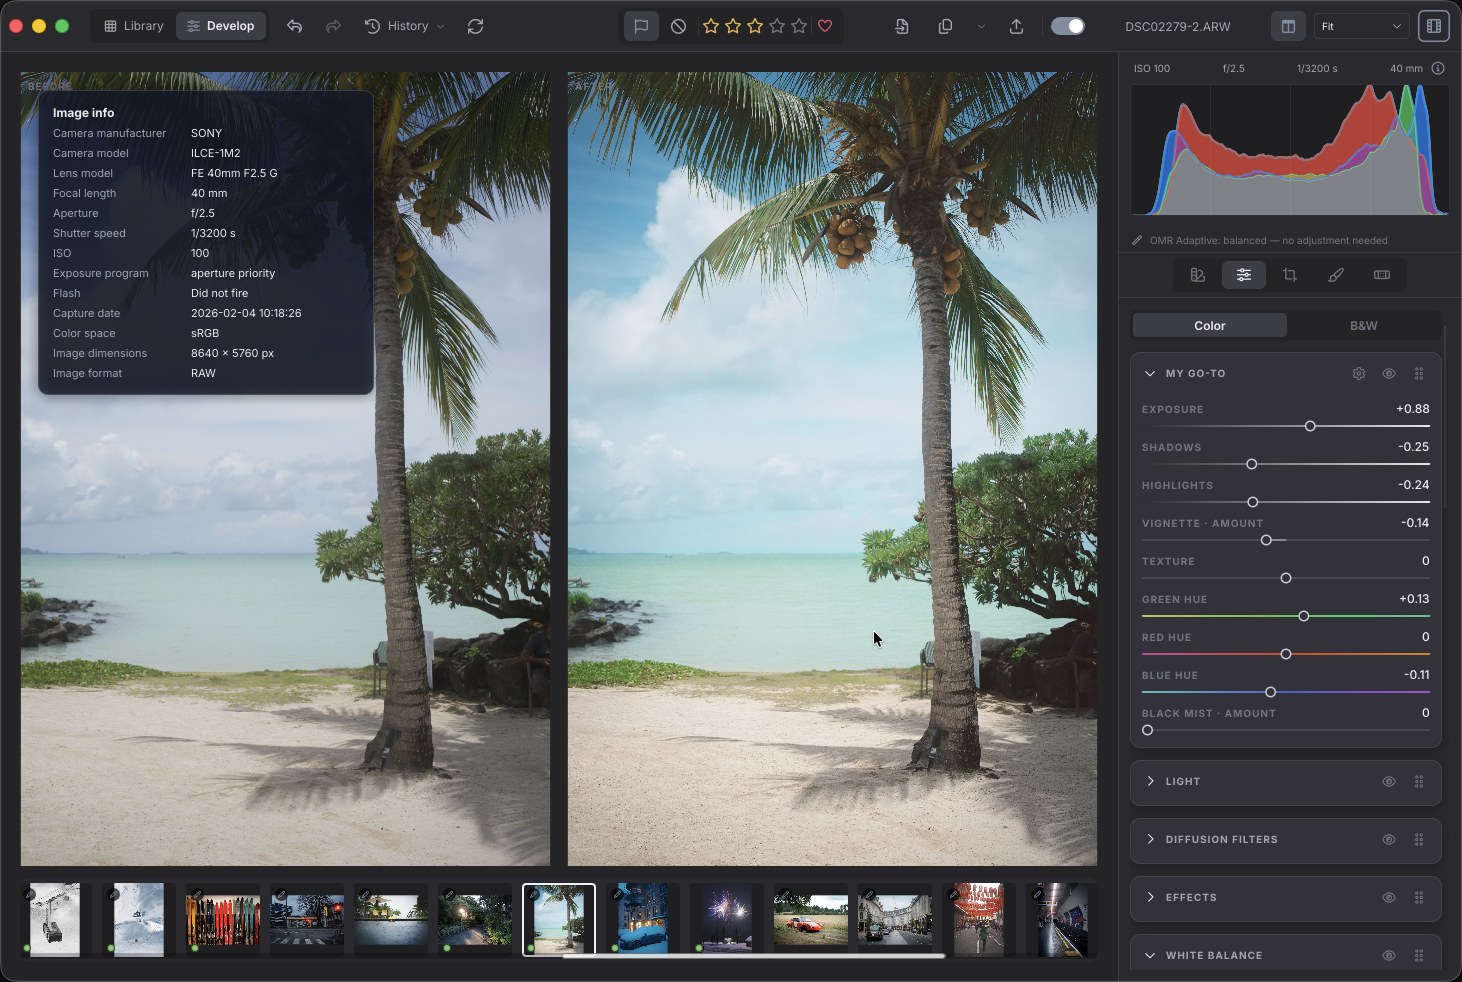
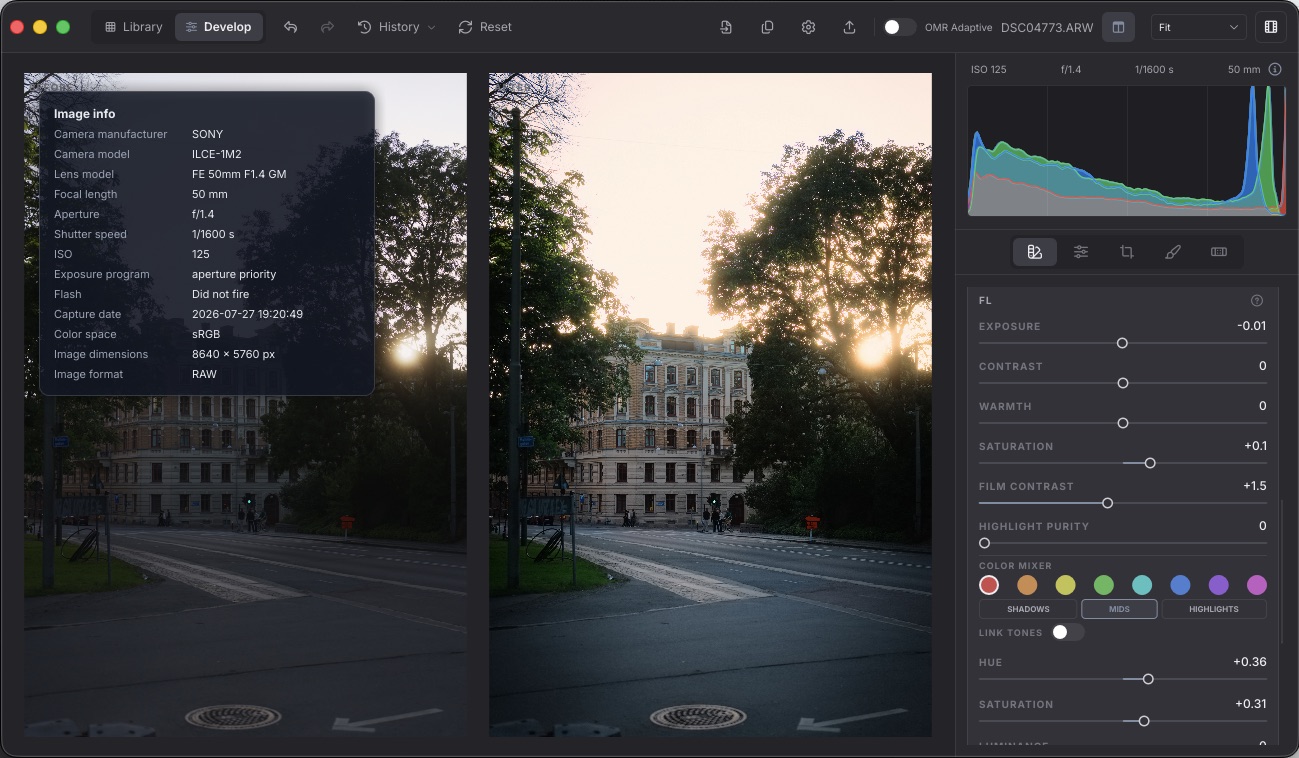
OhMyRAW developing a beach scene, the original and the developed frame side by side, with the tone curve and light sliders open
The same frame before and after, side by side. Tone, colour and curve on the right; the original never touched.
Real-time editing
16-bit & float export
RAW, HEIF & everyday images
Mac, Linux & Windows
Colour & light

Highlights that don't break.

Your camera records far more light than a screen can show. The sun in the frame is hundreds of times brighter than the wall beside it, and no display will ever put that on glass. Something has to compress it. The question is when.

Traditionally, early. A curve fits the picture to a display soon after the file opens, and your adjustments then work on the fitted result. It's why highlight recovery exists as a separate tool at all — to claw back what the curve has already flattened.

OhMyRAW compresses once, at the very end. Contrast, clarity, dehaze, the emulsion, every mask — all of it happens on the scene's own light, before anything is fitted to your screen. A masked exposure pull genuinely brings a bright sky back instead of dragging grey across it. Diffusion blooms off a street lamp with the lamp's real energy behind it. Nothing round-trips through a flattened copy on the way, so a sky or a cheek stays smooth however hard you push.

The traditional order Your file Fitted to a screen Everything you do to it Screen
OhMyRAW Your file Everything you do to it, on the scene's own light Fitted to your screen, once Screen

Both orders have to fit the picture to a display in the end. The difference is how much of your edit happens after that — and in OhMyRAW, none of it does.

Working space

Rec2020-linear

RAW decodes into a wide-gamut linear space, so saturated highlights — neon, a sunset — stay in gamut through the whole edit.

Pipeline

Scene-referred, no clamp

Every tonal and colour move runs in linear light with no mid-pipeline ceiling, so highlights keep their real energy instead of posterising.

View transform

One tone-map, at the end

A single filmic curve fits the open-ended scene to your display — a blown sun rolls to a soft white core, its warm colour intact.

Precision

16-bit float throughout

Develop, detail, healing and masks all pass unclamped float; the 8-bit encode happens just once, at export.

Everything in one place

A complete develop suite

Tone, colour, detail and finishing — the full set, running in real time on your own machine.

Tone & colour

Exposure, contrast, white balance, highlights, shadows, whites and blacks — plus a per-channel tone curve, an HSL colour mixer, colour grading and camera calibration.

Film emulsions

A colour film line with its own characteristic curves, black & white beside it — and a look lab for capturing, tuning and saving emulsions of your own.

Diffusion filters & dehaze

Black Mist blooms the highlights and Cross Screen puts four-point stars on the lights — both adding real light, not blur. Plus a dehaze to cut through atmosphere. Across the frame or inside a mask.

Masks you can see

Brush, linear and radial masks — plus an automatic sky mask you refine by hand. Coverage shows in red while you work and clears when you reach for the sliders, radial and linear masks keep on-image handles, and dragging a brush setting draws the live brush at its true size and softness.

Detail & AI denoise

Sharpening, noise reduction, film grain and a post-crop vignette — and an AI denoise that runs on your own machine, in seconds, with nothing sent anywhere.

Geometry & lens

Crop, straighten, orient and guided-line perspective correction, with lens distortion and vignetting taken from the profile your camera wrote into the file.

Adaptive develop

One switch reads each photo's own histogram and sets its base rendering — like correcting the exposure at capture, underneath the emulsion and everything you've done since.

Export

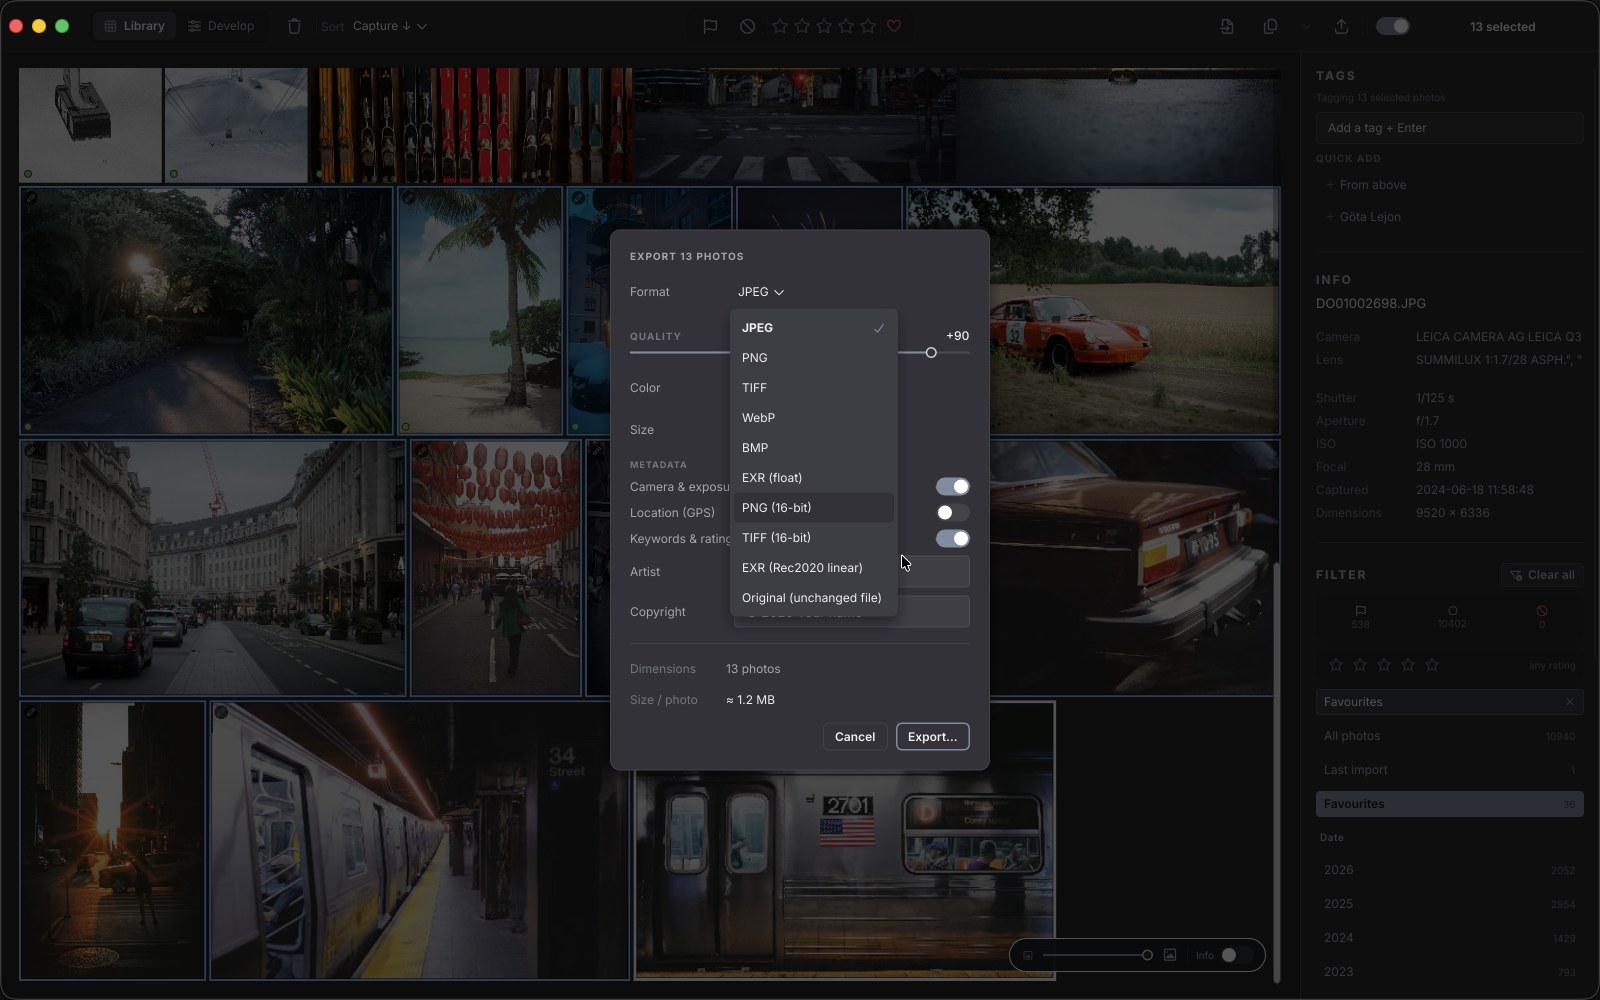
8-bit JPEG, PNG, TIFF, WebP (sRGB, Display-P3, Adobe RGB with ICC), 16-bit, 32-bit float EXR — or the untouched original, copied byte for byte. Single or batch, while you keep working.

Presets & history

Your own presets in folders, the ones you already own imported, settings copied from one photo to a hundred — and a history you can hover to preview before you commit.

Formats

Not only RAW.

Everything you shoot lands in the same scene-referred pipeline — the phone frames alongside the camera files, the old scans alongside this morning's shoot. One develop, one library, whatever the file.

Camera RAW

Twenty formats, every major brand

Sony, Canon, Nikon, Fujifilm, Panasonic, OM System, Pentax, Sigma, Hasselblad, Phase One, Kodak and more — plus DNG, so Apple ProRAW and Leica come along too.

ARW · CR2 · CR3 · NEF · NRW · DNG · RAF · RW2 · ORF · PEF · SRW · 3FR · IIQ · ERF · MOS · MRW · X3F · KDC · DCR

HEIF family

Your phone's files, at full depth

HEIC and AVIF decode at their real 10- or 12-bit depth straight into linear light — the same path a RAW takes. No 8-bit bottleneck on the way in, so the gradients in a phone sky hold up under an edit.

HEIC · HEIF · HIF · AVIF · AVCI · HEICS

Everyday images

Anything else in the folder

Scans, exports, deliveries from a second shooter, a decade of JPEGs. They get the same tools — masks, emulsions, diffusion, the lot — and the same non-destructive treatment.

JPEG · PNG · TIFF · WEBP · BMP

Diffusion filters

For when you wish you'd had the filter on.

Both sit at zero until you move them. Nothing is applied for you, and no photograph here needs them to be finished.

When you do reach for one, it behaves like the glass rather than an overlay. Light is added, spreading out of the bright parts of the scene with the brightness those parts really had — measured before anything is fitted to your screen, not a flat haze laid over a finished frame. Across the whole picture, or brushed into a mask, as in both below.

Black Mist

Highlights that bloom and bleed

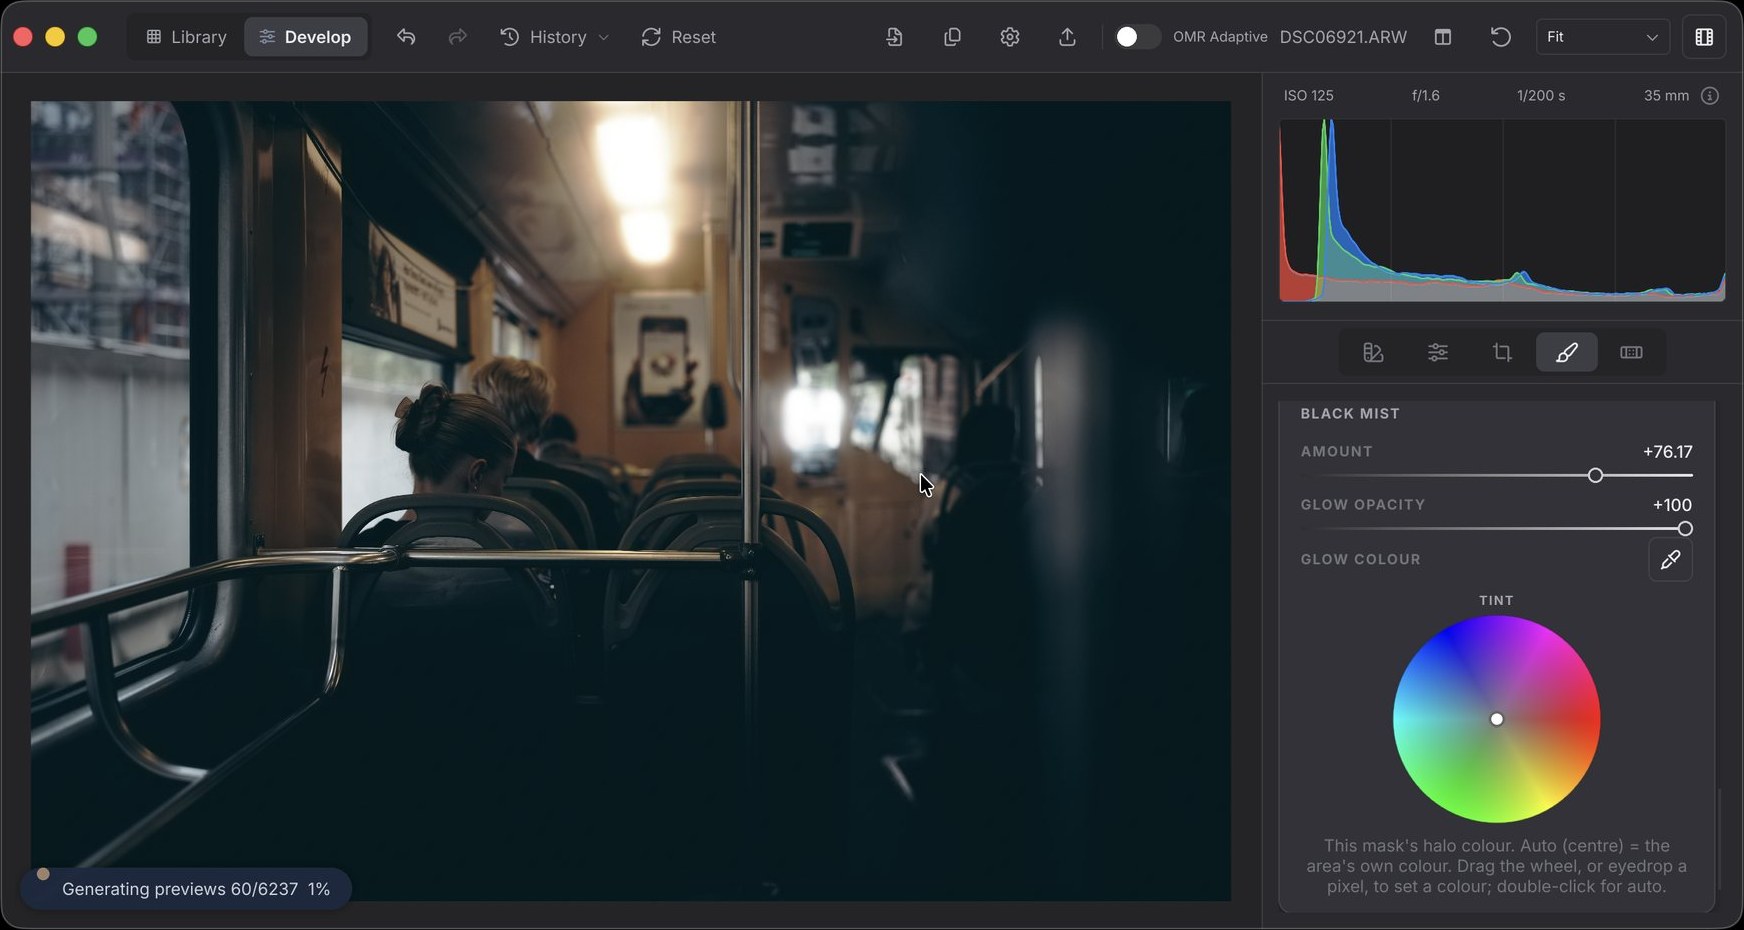
Glow spreads outward from the bright points and falls away. The shadows lift the way they do behind real diffusion; everything that isn't bright stays crisp.

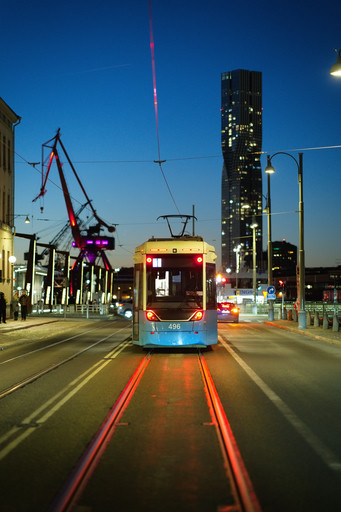
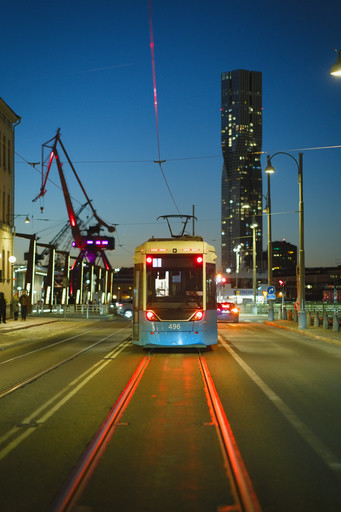
OhMyRAW developing a dim tram interior — the ceiling lamp blooms softly outward while the handrails stay sharp, with a mask's Black Mist amount, glow opacity and glow colour wheel open
Brushed into a mask, so only the lit end of the carriage takes it. Glow colour belongs to that mask — left on auto it borrows the colour of the light itself, or set it on the wheel or with the eyedropper.
Cross Screen

Four-point stars on the lights

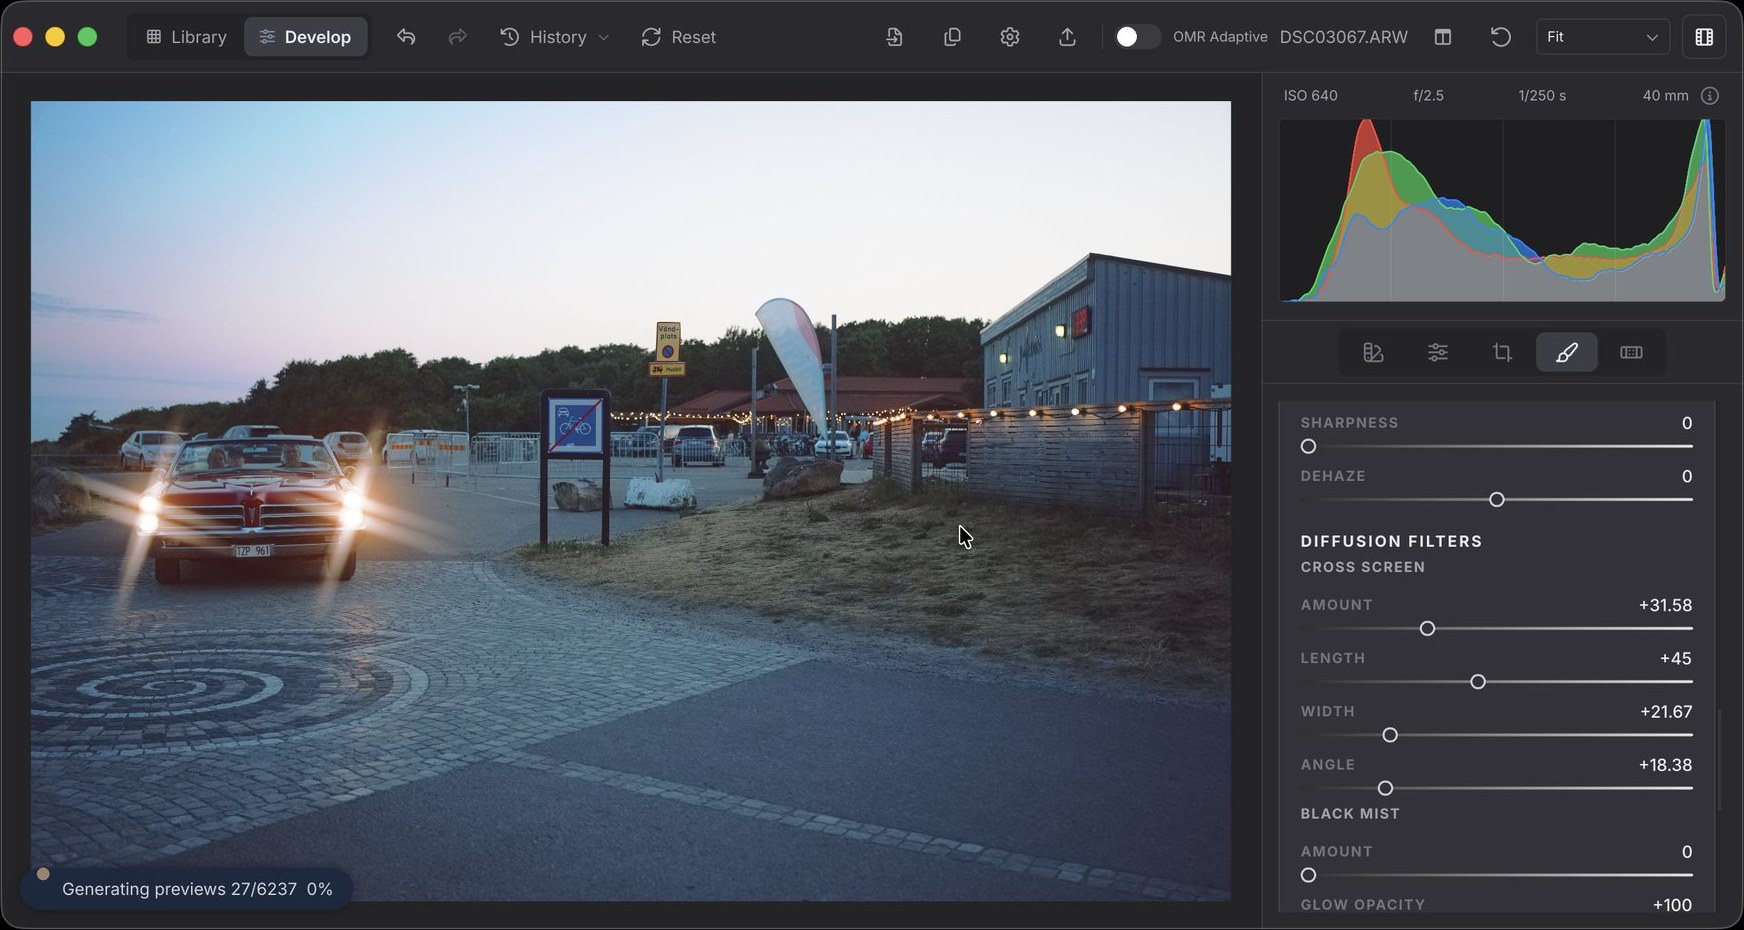
Point lights draw four tapering streaks, dispersing slightly towards the tips. Bright sources star more than dim ones, so the headlights carry the biggest and the string lights behind them the smallest — each one in proportion to how bright it really is. Length, width and angle are set as fractions of the image, so the star you judge on screen is the star the export gives you, at any size.

OhMyRAW developing a convertible at dusk — four-point stars on the headlights and smaller ones on the string lights behind, with a mask's Cross Screen amount, length, width and angle open
A mask again, over the car and the lights beyond it. Amount, length, width and angle for the stars — with Black Mist waiting in the same panel, since a mask can carry both filters at once.

Dial it in, change your mind, take it back to zero. It is there for the evening the mist filter stayed at home — not an argument with the frame you shot exactly as you meant to.

Emulsions

Load a stock, then make it yours.

An emulsion sits under everything else, the way a film stock colours all that follows. Each one is built from the published datasheet figures — its own characteristic curve, its own way of holding a highlight — not a filter laid over a finished picture.

A Chinatown street of red lanterns rendered with OMR ColorOMR Color
The same street rendered with Portrait 400Portrait 400
The same street rendered with Amber 200Amber 200
The same street rendered with Crisp 400Crisp 400
The same street rendered with the Chrome 100 slide stockChrome 100
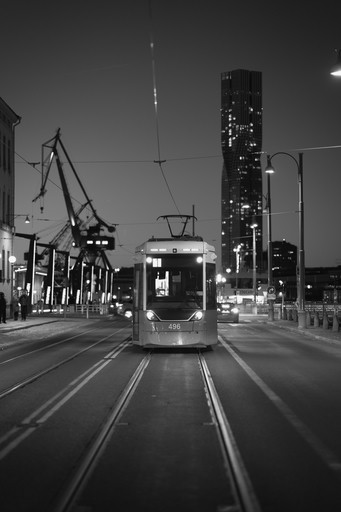
The same street rendered in black and white with Pan 400Pan 400
The same street rendered with InstantInstant
The same street rendered with Vivid 100Vivid 100

One frame, eight emulsions. Nothing else about the edit changes.

Then the look lab: take a photo you've developed the way you like, capture it — grade, colour, curves, film character — and it becomes an emulsion of your own, sitting in the picker beside the rest, editable in place and ready for everything you shoot next.

An emulsion open in the look lab — film contrast, highlight purity and the colour mixer
An emulsion open in the look lab. Film contrast and highlight purity shape the curve; the mixer works a hue at a time, in shadows, mids or highlights.
The light table

Ten thousand photos, no waiting.

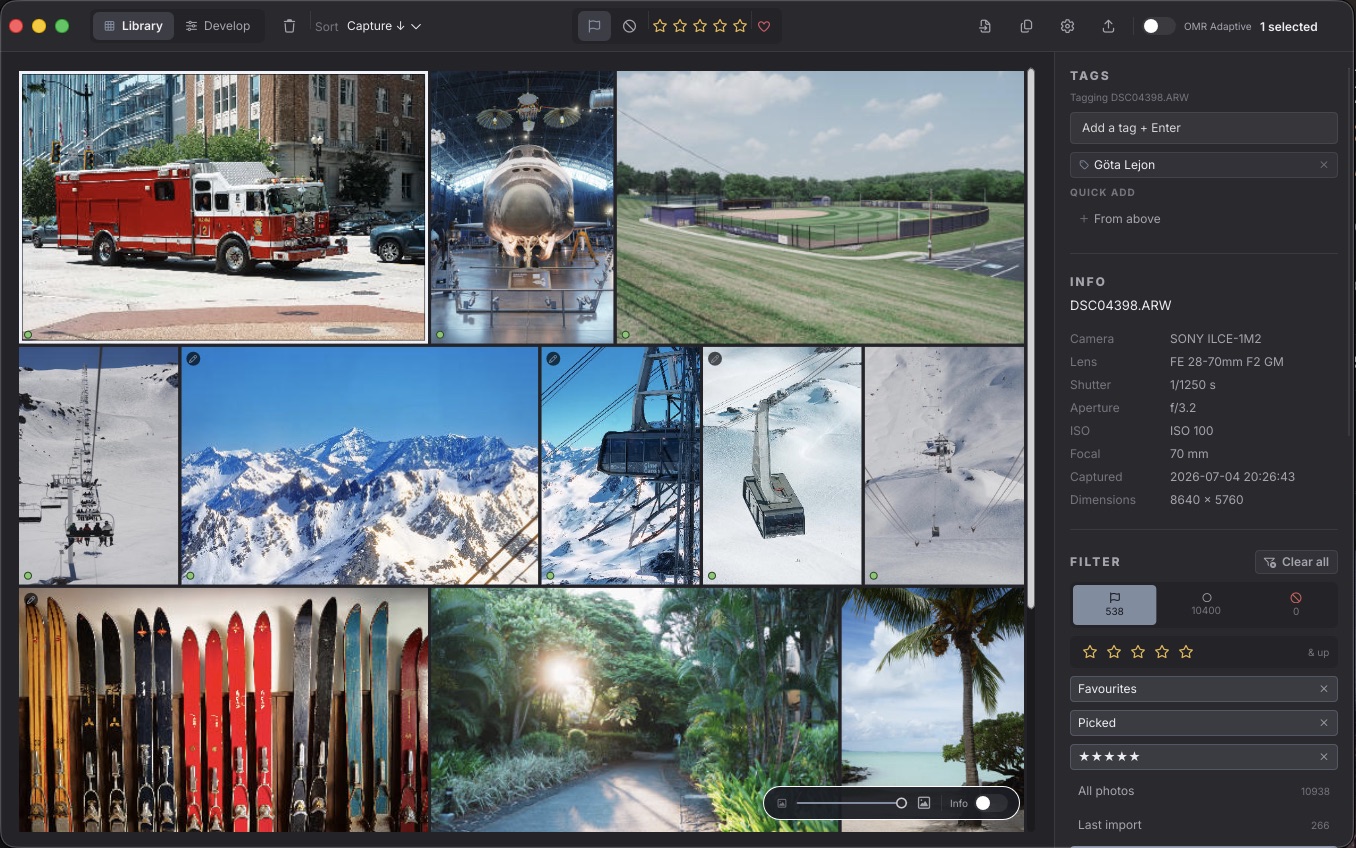
OhMyRAW is two rooms. The Library is where you look — a grid that opens a full shoot in a moment and scrolls without a stutter. Cull it one-handed: pick, reject, rate, favourite, and it moves to the next frame for you.

The OhMyRAW Library — a grid of photos with the tags, info and filter sidebar open
Tag as you go, then narrow by flag, rating, tag, camera, lens or date until the shortlist is the only thing on screen.

Copy a develop from one photo to a hundred, choosing exactly which settings travel. Step through the door into Develop and back without losing your place. The rejects go in a single click.

Sync

Use the cloud you already have.

Your photos, edits and verdicts live in one ordinary folder. Point whatever you already use at it — iCloud Drive, Dropbox, Google Drive, OneDrive, Syncthing, a NAS — and your machines stay in step. Nothing to sign up for, nothing extra to pay for, and no service of mine in the middle.

Desktop
Originals, full develop
Laptop
Edits the preview, pulls the RAW on demand
Your folder
Originals · previews · edits · ratings

A machine without the originals edits a compact preview that renders exactly like the RAW, and pulls the file itself only when it needs to. Change provider next year and nothing breaks — move the folder, point the new one at it, carry on. Your library was never inside anyone's service to begin with.

Fredrik The story

Why I built OhMyRAW

I'm a photographer. For years I paid a monthly fee to edit my own work, with the quiet sense that my catalogue was never really mine — that the day I stopped paying, my edits would go with it.

So I built the developer I wanted to use: native, fast and self-contained, with no compromise on image quality or control. And I priced it the way I'd want to buy software — once, fairly, with updates that never cost extra. I use it for my own work, every day.

— Fredrik

Pricing

Buy it once. Keep it for good.

No subscription. One price for the whole application — and every update that follows it.

Perpetual licence
€69€49once

Introductory price

The complete application — every feature, on every platform. €69 once the introduction ends; what you pay today you never pay again.

  • Free updates, for life
  • No subscription, no account required
  • Library sync through the cloud you already use
  • Mac, Linux & Windows — Intel, Apple silicon & ARM
  • Four devices in any mix — activated once, then offline
  • A licence you own, not a rental
Release imminent

Downloads open shortly · this is the price they open at

Own your darkroom.

€49 to start, once. Free updates for life. No subscription, ever.

Release imminent

Mac, Linux & Windows · Intel, Apple silicon & ARM